When it comes to importing data into WordPress, rarely is it a straightforward task. From unique datasets to old shopping cart systems, every database schema is a little different. And, as much as I’d like to think that I can measure twice, cut once, and have the data end up in the right place, it doesn’t always work out that way.
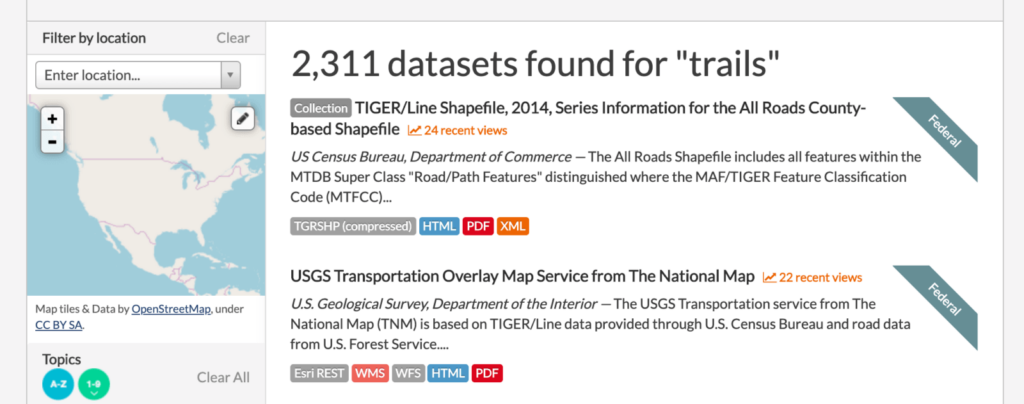
A couple years ago, I set out to build a trail locator (similar to AllTrails) using publicly available geospatial data.gov data. My first thought was, “this’ll be easy”. I’d export all of the standardized data, import each record into a custom post type with custom fields, build a template to display the information, and use the native WordPress search to traverse the data. Let’s just say things got complicated, quickly.
Cleaning the source data
The first challenge was cleaning the data. I was dreaming of the perfect import (yea that’s what geeks dream about) — one where every record successfully found its way into the database. No errors, no warnings. In order to accomplish a ‘perfect import’ all the data needed to look the same. Special characters needed to be removed, missing data needed to be evaluated, and data formats needed to be changed. QGIS was my friend when it came to opening, exploring, and exporting geospatial datasets, and Geocodio helped a ton with translating coordinates to human-readable addresses.
Preparing the destination
Before import, I wanted to make sure that the destination website was set up to display the data. I used the first few records of my dataset as my test data. Using real data made it easier to understand exactly what fields were needed to avoid as much data re-work as possible. I’m a visual-first experience designer, and as I built things visually, the field-set kinda fell into place. Here’s what I did:
- Created a custom post type to handle each record of trail data.
- Built a quick visual sketch for the CPT with Beaver Themer using static content.
- Scanned the visual sketch from head to toe to determine what data should be dynamic.
- Created a field-set using Advanced Custom Fields to accommodate the dynamic data.
- Updated the visual sketch of the page to include ACF fields instead of static data.
- Created a new post within the custom post type.
- Entered test data into the custom fields within the CPT.
- Viewed the post on the front-end to determine whether the page made sense with dynamic data.
Of course, there was some tweaking to be done, but this method allowed me to quickly and easily prototype a completely new, somewhat complicated post type with dynamic data.
Importing the data
Once the data was cleaned and the destination was prepared, it was time to import the data into it’s new home. To accomplish an import into both a custom post type and custom fields, I used WP All Import with the Advanced Custom Fields Add-On. As much as I really wanted to have a perfect import, it just didn’t happen. That’s when I discovered my two favorite features of the WP All Import plugin.
Field Mapping
Without field mapping, the names at the source and destination have to match perfectly. With field mapping, field names can be different and data can be matched using WP All Import’s simple UI. Compared to a direct database import, visual field mapping is a huge time saver.
Import Undo
It blows my mind that this feature isn’t listed on the homepage of WP All Import. Imports are listed in the Manage Imports section within the plugin interface. Want to roll back an import? No problem. After clicking delete underneath the import (scroll over to see it), you’re offered the opportunity to undo the insertion of the data related to that particular import. Life saver.

Using field mapping and import undo, I was able to use a small dataset to iteratively test my import. When I finally unleashed my file with 100k records, I was pleasantly surprised to see the results of my now perfect import.
Here’s the crazy part — I didn’t use an ounce of code. Why not? For a prototype with an uncertain future, I didn’t want to invest the additional time. I figured that if the trail guides were popular, I’d build more efficiency into the project using custom code. After all the effort, about 6-12 months after the project was made public, I decided to mothball it. Boy am I happy I didn’t put more time / energy into the prototype.